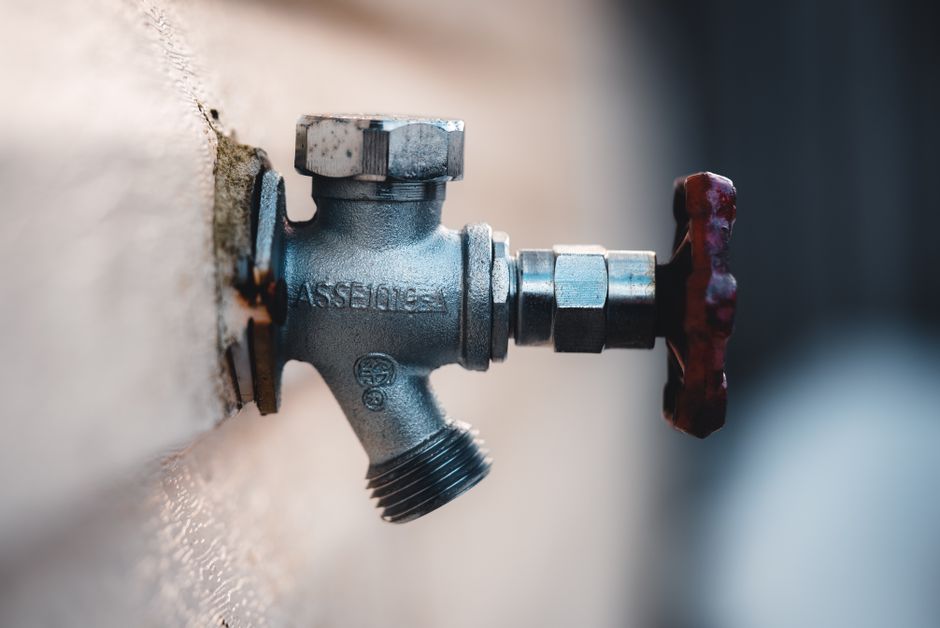
Summer in the Inland Empire puts every outdoor faucet to work. Between garden watering, car washing, and filling kids' pools, the humble hose bib on the side of your house sees more use in August than in the previous six months combined. It's also when small drips tend to turn into steady leaks. Here's how to figure out what's wrong, what you can handle yourself, and when it's time to bring in a plumber.
Why Hose Bibs Fail More Often in Summer
A hose bib is a simple valve, but it takes a beating. Constant on-off use wears down the rubber washer inside. Heat expansion, mineral buildup from hard water, and the weight of a coiled hose all put stress on the spout and the pipe behind the wall. In Fontana and much of Los Angeles and Orange County, hard water is a real factor—scale builds up on the valve seat and stem, which prevents a clean shutoff.
You'll usually notice the leak in one of three ways: water dripping from the spout when the valve is off, water seeping from the handle when the valve is on, or a wet patch on the wall or foundation near the faucet. Each points to a different problem.
Step 1: Identify Where the Leak Is Coming From
Turn the valve fully off and dry the entire fixture with a towel. Wait a minute, then look closely. If water is dripping from the spout, the internal washer or seat is worn. If water is coming from around the handle or packing nut when the water is running, the packing washer or O-ring behind the handle needs attention. If water is showing up at the wall, behind the flange, or on the ground below the bib, you may have a cracked pipe or a failed connection inside the wall—a more serious issue.
Step 2: Try the Simple Fixes First
Before disassembling anything, disconnect the garden hose and check the rubber washer inside the hose fitting. A worn hose gasket can mimic a bib leak. Replace it and see if the drip stops.
If water leaks around the packing nut while the faucet is on, try gently snugging the nut a quarter turn with an adjustable wrench. Don't overtighten. This alone resolves many summer leaks. If the handle still weeps, the packing washer inside likely needs to be replaced.
Step 3: Replacing the Washer on a Standard Hose Bib
If you're comfortable with basic tools and the bib is a standard compression-style valve, replacing the washer is a reasonable DIY job. First, shut off water to the house at the main valve. Open the hose bib to relieve pressure. Then unscrew the packing nut behind the handle, back the stem out of the body, and inspect the washer at the end of the stem. If it's flat, cracked, or grooved, replace it with an identical-size washer from a hardware store. While you're in there, check the O-ring on the stem and the valve seat inside the body for pitting.
Reassemble in reverse order, restore water slowly, and test. If the leak persists after a fresh washer, the seat itself is likely damaged and the entire fixture may need to be replaced.
Step 4: Know When It's a Frost-Free or Anti-Siphon Bib
Many homes in Southern California have anti-siphon vacuum breakers on top of the hose bib. If water sprays or drips from that cap when the water is running, the vacuum breaker cartridge inside has failed. Replacement kits are available, but the part must match the brand of your bib. Frost-free hose bibs, which have a long stem that shuts off water further inside the wall, require pulling the entire stem assembly out through the exterior. These are less common here than in colder climates, but they do show up on newer builds, and repair is more involved.
When to Call a Plumber
Some situations aren't worth the risk of a DIY attempt. Call a licensed plumber if you see water staining the stucco or drywall near the faucet, if the bib itself wobbles or feels loose against the wall, if the pipe behind the valve is copper and looks corroded, or if shutting the main water off didn't stop the leak. Any of these can indicate a cracked pipe, a failed solder joint, or a slab-adjacent leak that will only get worse with continued summer use.
A professional can also swap out an aging bib for a modern frost-free, anti-siphon model and check the shutoff and supply line for related wear. Repairs inside the wall usually involve cutting drywall or stucco, soldering or press-fitting new copper, and pressure-testing the line—work that goes well beyond a washer swap.
Your Next Step
If the leak is a slow drip at the spout, start with a new washer this weekend and see if that resolves it. If water is appearing at the wall, if the fixture moves when you turn the handle, or if a washer replacement didn't hold, shut off water to the bib (or the house) and schedule a plumber before the problem grows. A short service call now is far cheaper than repairing water damage to siding, framing, or a foundation later in the season.